An Easy Guide to Replacing a Shed Floor
Over time, frequent wear and tear, moisture, and pests can damage your shed floor, leaving it weakened, rotting, and structurally unsound.
If your floor seems to be crumbling, that’s a clear sign that it needs to be replaced. With Atlas Sheds, the floor replacement process will be completed quickly and efficiently.
Read on for an easy guide to replacing a shed floor. If your old shed is falling apart beyond repair, breathe new life into your garden with our durable garden sheds.
Tools and Materials Needed
- Measuring tape
- Plywood sheets
- Circular saw or hand saw
- Pry bar
- Spirit level
- Hammer or nail gun
- Nails or screws
- Joint sealant
- Sandpaper
- Wood preservative (optional)
- Underlay (optional)
- Waterproof membrane (optional)
PPE: Ensure that you wear safety goggles and gloves to protect your eyes and skin from sharp tools and debris.
Preparing for the Replacement
Remove all the contents from your shed so you have unobstructed access to the floor.
Inspect the floor for signs of rot, mould, and mildew to see if a full replacement or repair is necessary. Then, pry up the old floorboards with a pry bar.
Once all of the pieces have been removed, clean up any debris, leaves, or dirt from the base of the shed. Using a spirit level, ensure the base is level. If it needs adjusting, add or remove any soil, sand, or gravel until a flat surface remains.
Lay a waterproof membrane or use gravel to improve drainage around the shed.
A Step-by-Step Guide to Replacing the Shed Floor
1. Measuring and Cutting the New Floor
Using a measuring tape, measure the length and width of the shed interior. Measure from multiple points for accuracy.
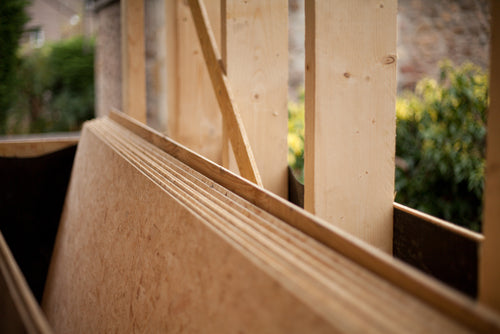
Calculate the number of sheets of plywood you will need based on your measurements. Plywood typically comes in standard sizes, with 8x4 feet (2440x1220mm) being the most common. Add extra material to account for cuts.
Lay out the plywood on a flat surface, and use a straight edge chalk line to mark the measurements on the sheets. Then, cut it using a circular saw, and set the blade depth to slightly more than the thickness of the plywood for a clean cut.
Use sandpaper to smooth out any rough edges.
2. Applying Wood Preservative (Optional)
Leave your plywood to dry off if necessary before applying any preservative.
Lightly sand off any remaining splinters for a smooth application. Then, using a brush, roller, or sprayer, apply the wood preservative, ensuring an even coverage. Apply a generous amount for deep penetration.
Allow it to dry before placing the new floor.
3. Fitting the New Floor
If you're adding underlay to your floor, place this down before the floorboards are laid. Before applying any adhesive, dry-fit your plywood to verify that it fits into the space efficiently. Make any adjustments if necessary.
Then, starting at one corner, begin laying the plywood sheets across the floor. If you're using screws, drill pilot holes beforehand to prevent the wood from splitting. Ensure the holes are smaller than the screws.
Use your hammer or nail gun to fasten the plywood to the floor joists, placing the fasteners 6-8 inches apart. For screws, insert them with a drill.
Once each sheet is installed, use a spirit level to ensure the ground is even. The edges of adjacent plywood sheets should sit flush with each other to avoid uneven surfaces. Leave a small expansion gap of around ⅛ inches around the perimeter of the floor to allow the wood to expand.
4. Apply the Sealant
Apply a clear polyurethane sealant to your floor to protect it from moisture, stains, and general wear and tear.
Use a paintbrush or roller to apply the sealant for an even covering.
Choose Atlas Sheds for Your Garden Renovation
Is your garden missing a little creativity? If so, Atlas Sheds are here to help.
Whether you want to create the perfect play area for your children or you’re designing your ideal summer hideout, we have a range of summer houses and garden sheds to help you move one step closer to your dream home.
With free installation and delivery, browse our sheds today to find the perfect fit for your garden.